A hacked-up keyboard is a cheap and fairly simple way to add a switch-type input to a PC. Why would you want to do this? Let’s say you are building a haunted house. With just your hacked keyboard and Winamp you have all kinds of things you can do:
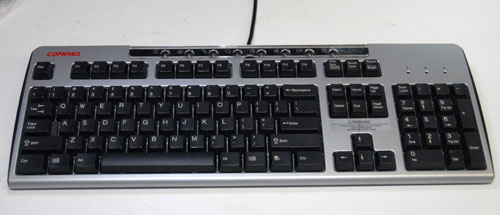
The first thing you need is a donor keyboard that you don’t mind “repurposing”. Since you are going to rip the guts out of it anyway it doesn’t even matter if the keys work. Go get that old keyboard out of the garage that the dog (wink wink) spilled pop on last year. You can use a PS2 or a USB keyboard, it doesn’t really matter. Just make sure that whatever you choose will plug into the computer you plan on using.
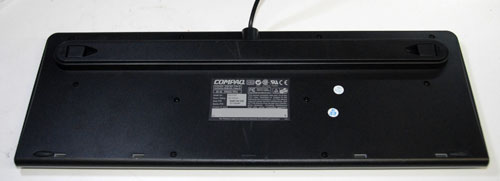
Take the keyboard apart. My keyboard just had a bunch of screws in the bottom that needed to be removed, but yours may be different. Don’t forget to look under rubber feet for hidden screws.
Once you’ve got the top and all the keys off, you’ll see a big rubber sheet with a bunch of plungers molded into it. Remove this. (You may want to keep it if you are making a squid monster or something- free suction cups!)
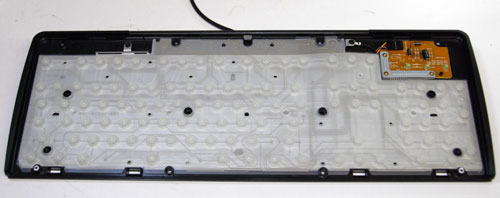
Underneath you will find whatever makes the keys work. Older/nicer keyboards have a bunch of switches mounted to a giant PCB, but most of them these days have a couple mylar sheets with some circles and traces on them. Press a key and you are pressing the conductive circles together. The traces route the signal to the PCB in the corner.
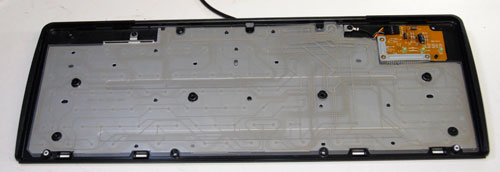
Now we need to figure out which two contacts on the edge of the circuit board are connected together when we press our desired key. In keeping with our Winamp example we’ll choose the letter ‘X’ since that is the key that makes Winamp play. Find the circle that normally sits under the ‘X’ key.
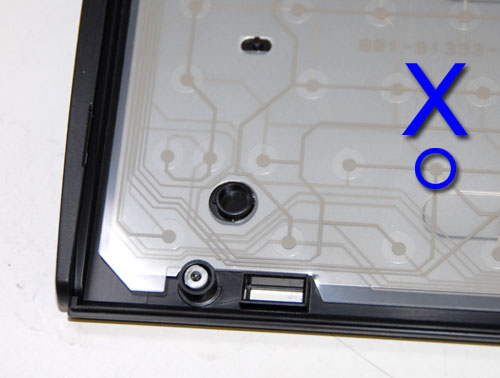
Follow the trace on the top mylar layer to the PCB and mark which contact it is hooked to. Now peel back the top layer and follow the trace on the bottom mylar sheet. Mark the second contact on the PCB.
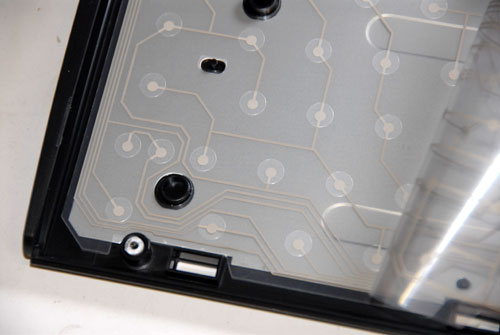
Now that you know which two PCB contacts produce the letter ‘X’, unscrew and remove the PCB from the keyboard. You may have to unhook connectors or simply lift the board out depending on the construction of your keyboard.
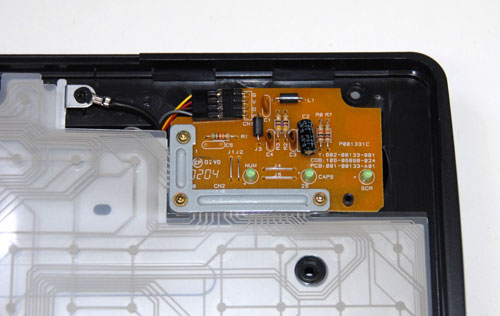
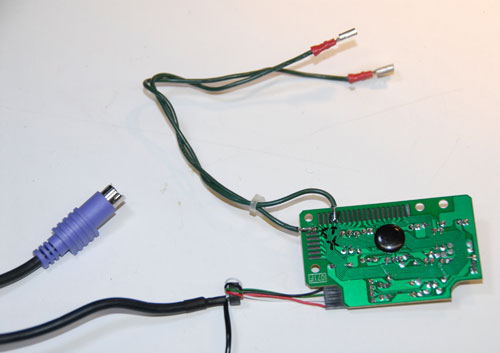
Solder a wire to each of the two contacts you identified earlier.
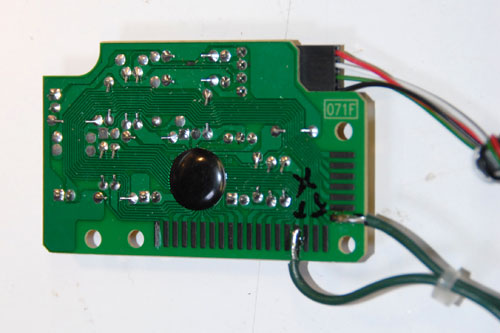
It’s up to you how fancy you want to get with an enclosure for the PCB. Radio Shack sells some nice project boxes and Home Depot sells some nice duct tape you could wrap it up with. You may want to put some quick-disconnect terminals on the two wires you just added at least so that it is easy to hook/unhook your new converter.
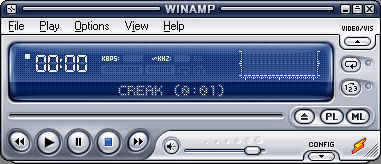
That’s it. Now whenever you short the two wires together the computer will think you pressed the ‘X’ key. Load up your favorite sound or video in Winamp and every time you short the wires it will play. You can hook the wires to any normally-open switch and it will work.
Follow-Up
You can do this with more than one key. Just follow the traces for each one. If you need more than a few, however, you may start running into a problem called “ghosting” where several keys being pressed at once can be read as an entirely different key or missed completely. This is caused by the way the keyboard matrix is set up. If you need more than a few keys for your application you might want to consider buying a keyboard encoder that has separate inputs for each button. They are made for the arcade emulation market but will work great for whatever you want to use them for. Here are a few you can check out:
- Give your monsters a hidden button to activate monster sounds
- Play a welcome message whenever a tour guide presses a garage door opener
- Have a door creak whenever it is opened
- Play a scream when someone steps on a pressure mat
- Show a video on a projector when a “victim” is sensed by a motion sensor

The first thing you need is a donor keyboard that you don’t mind “repurposing”. Since you are going to rip the guts out of it anyway it doesn’t even matter if the keys work. Go get that old keyboard out of the garage that the dog (wink wink) spilled pop on last year. You can use a PS2 or a USB keyboard, it doesn’t really matter. Just make sure that whatever you choose will plug into the computer you plan on using.

Take the keyboard apart. My keyboard just had a bunch of screws in the bottom that needed to be removed, but yours may be different. Don’t forget to look under rubber feet for hidden screws.

Once you’ve got the top and all the keys off, you’ll see a big rubber sheet with a bunch of plungers molded into it. Remove this. (You may want to keep it if you are making a squid monster or something- free suction cups!)

Underneath you will find whatever makes the keys work. Older/nicer keyboards have a bunch of switches mounted to a giant PCB, but most of them these days have a couple mylar sheets with some circles and traces on them. Press a key and you are pressing the conductive circles together. The traces route the signal to the PCB in the corner.

Now we need to figure out which two contacts on the edge of the circuit board are connected together when we press our desired key. In keeping with our Winamp example we’ll choose the letter ‘X’ since that is the key that makes Winamp play. Find the circle that normally sits under the ‘X’ key.

Follow the trace on the top mylar layer to the PCB and mark which contact it is hooked to. Now peel back the top layer and follow the trace on the bottom mylar sheet. Mark the second contact on the PCB.

Now that you know which two PCB contacts produce the letter ‘X’, unscrew and remove the PCB from the keyboard. You may have to unhook connectors or simply lift the board out depending on the construction of your keyboard.

Solder a wire to each of the two contacts you identified earlier.

It’s up to you how fancy you want to get with an enclosure for the PCB. Radio Shack sells some nice project boxes and Home Depot sells some nice duct tape you could wrap it up with. You may want to put some quick-disconnect terminals on the two wires you just added at least so that it is easy to hook/unhook your new converter.
That’s it. Now whenever you short the two wires together the computer will think you pressed the ‘X’ key. Load up your favorite sound or video in Winamp and every time you short the wires it will play. You can hook the wires to any normally-open switch and it will work.

Follow-Up
You can do this with more than one key. Just follow the traces for each one. If you need more than a few, however, you may start running into a problem called “ghosting” where several keys being pressed at once can be read as an entirely different key or missed completely. This is caused by the way the keyboard matrix is set up. If you need more than a few keys for your application you might want to consider buying a keyboard encoder that has separate inputs for each button. They are made for the arcade emulation market but will work great for whatever you want to use them for. Here are a few you can check out:
No comments:
Post a Comment